
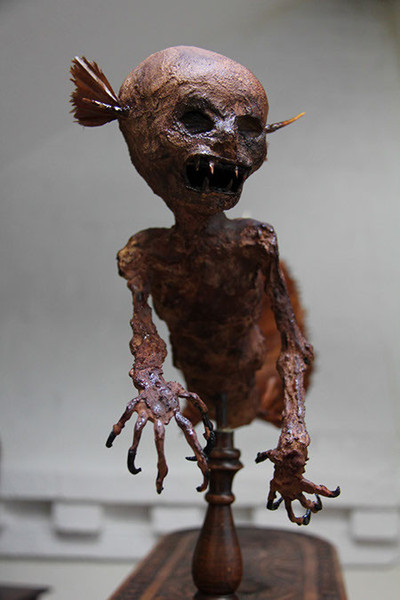
FeeJee Mermaid in 5 Days, Prop Build Project Day 4
Time certainly flies when you’re working to a deadline! I was worried last night that I wouldn’t have enough drying time to complete by Friday however, I awoke to glorious sunshine and a baking hot day in tropical Kent! Perfect weather for today’s antics!
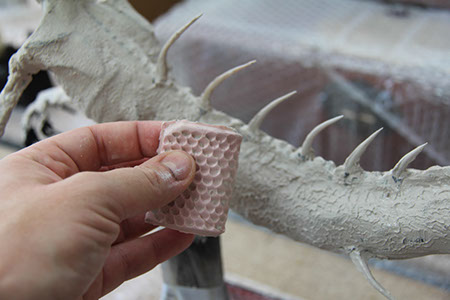
My silicone fish scale texturizer has set and everything on the mermaid from yesterday was dry and ready for the next stage.
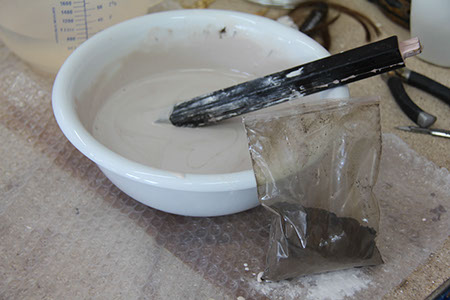
I mixed a batch of Herculite plaster and some brown powder colour pigment, thicker than you would use for casting. This was about the same consistency as Angel Delight (if you’ve ever eaten that muck!).
I then painted the entire mermaid in a thin layer working it into the rubberized tights skin.

This was then left to dry.
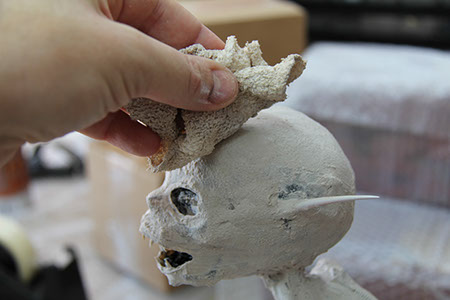
The next stage involved mixing another batch of Herculite, thicker this time. It was the consistency of wet clay so it could be picked up and spread over the mermaid’s body by hand.
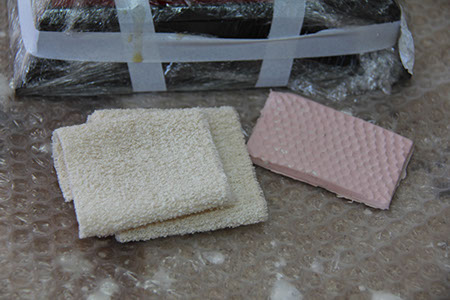
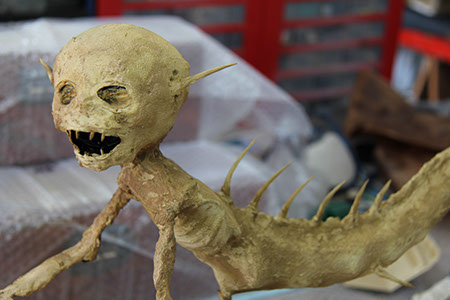
Working from the head to the tale, covered small sections at a time, I smoothed the plaster and then textured the surface with a damp piece of crepe bandage to create a goosebumped skin effect.
To texture the tale I used the silicone pad I cast yesterday. The silicone was lightly pressed on to the plaster. It needs to be noted that the texture left behind is not an exact impression of the silicone scales. It creates a much rougher pattern but with a slight element of regularity. The true effect will not be seen until the final stage.

Once the entire mermaid had been coated and textured it was left to dry in the morning sun.

Now to turn our ghostly white mermaid into a mummified relic of the sea! I use two types of Dirty Down Special Effects Dye for this stage – Ash Blonde and Rust.
The Mermaid was given a coat of Ash Blonde. The plaster is very ‘thirsty’ and soaks the dye up very quickly. I gave her 2 coats and then left her to dry for 10 minutes.
I then gave the mermaid a coat of Rust. The same technique is used here that I used to create the baking parchment fins. Spraying the body at varying distances to create lighty covered areas and spots of saturation. I would spray areas like the eyes & mouth as close as possible to create darker pigmentation and lighter, further away sprays for the underbelly. You’re effectively shading with the spray can.

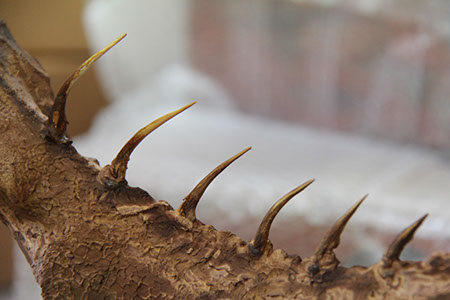
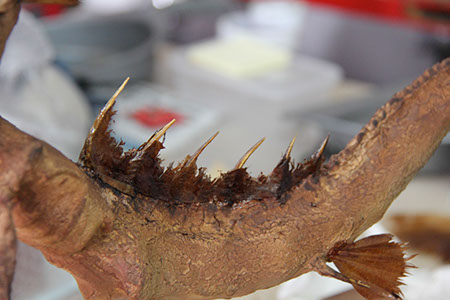
The spines were coated exactly the same way and the tips were wiped with a damp cloth to create the gradation of colour.

The tail and fins were then attached with liquid latex and rapidly dried with a heat gun. The latex was then also given a coat of Dirty Down to blend it in.

Ear fins and a dorsal fin were also attached.
The mermaid was then given some fresh air and sunshine for a further hour to dry.
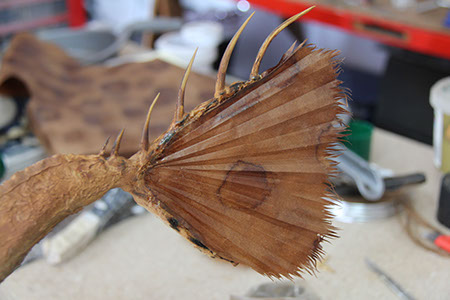
The fins and spines were sprayed with Windsor & Newton gloss canvas varnish. This, when applied to the baking parchment on both sides makes it translucent and also enhances the colour.


Additional coats of Dirty Down and varnish were applied until the right look was achieved.
To create a taxidermy fish semi glossy finish to the tale I lightly brushed the tail with polyurethane gloss varnish. Using the same principle as dry brushing to only deposit varnish on the raised textured sections. The varnish makes the plaster & dye turn almost black and finally reveals a fish scale type pattern.

Once all of the messy stuff was over with I removed the protective cover from the base and aged the bright red baize with more Rust dye.
I had a couple of faux ivory resin mermaids in the studio I made a couple of years ago for another project. I decided to also mount these on the base and added a reproduction newspaper clipping featuring the exhibition of a FeeJee Mermaid.

Right, that’s enough for today. I’ll let everything dry and I’ll come back with a fresh eye tomorrow and apply the finishing touches for a final photo shoot.